Document Capture
In this section, you will find all the necessary information for using and integrating the Unico IDCloud SDK into your Flutter applications for document capture
This guide has been designed to help you implement the Flutter SDK quickly and easily. Below, you will find a step-by-step process for the entire integration. After that, if you wish to customize the experience, be sure to check the Flutter Customization section.
Available Document Frames
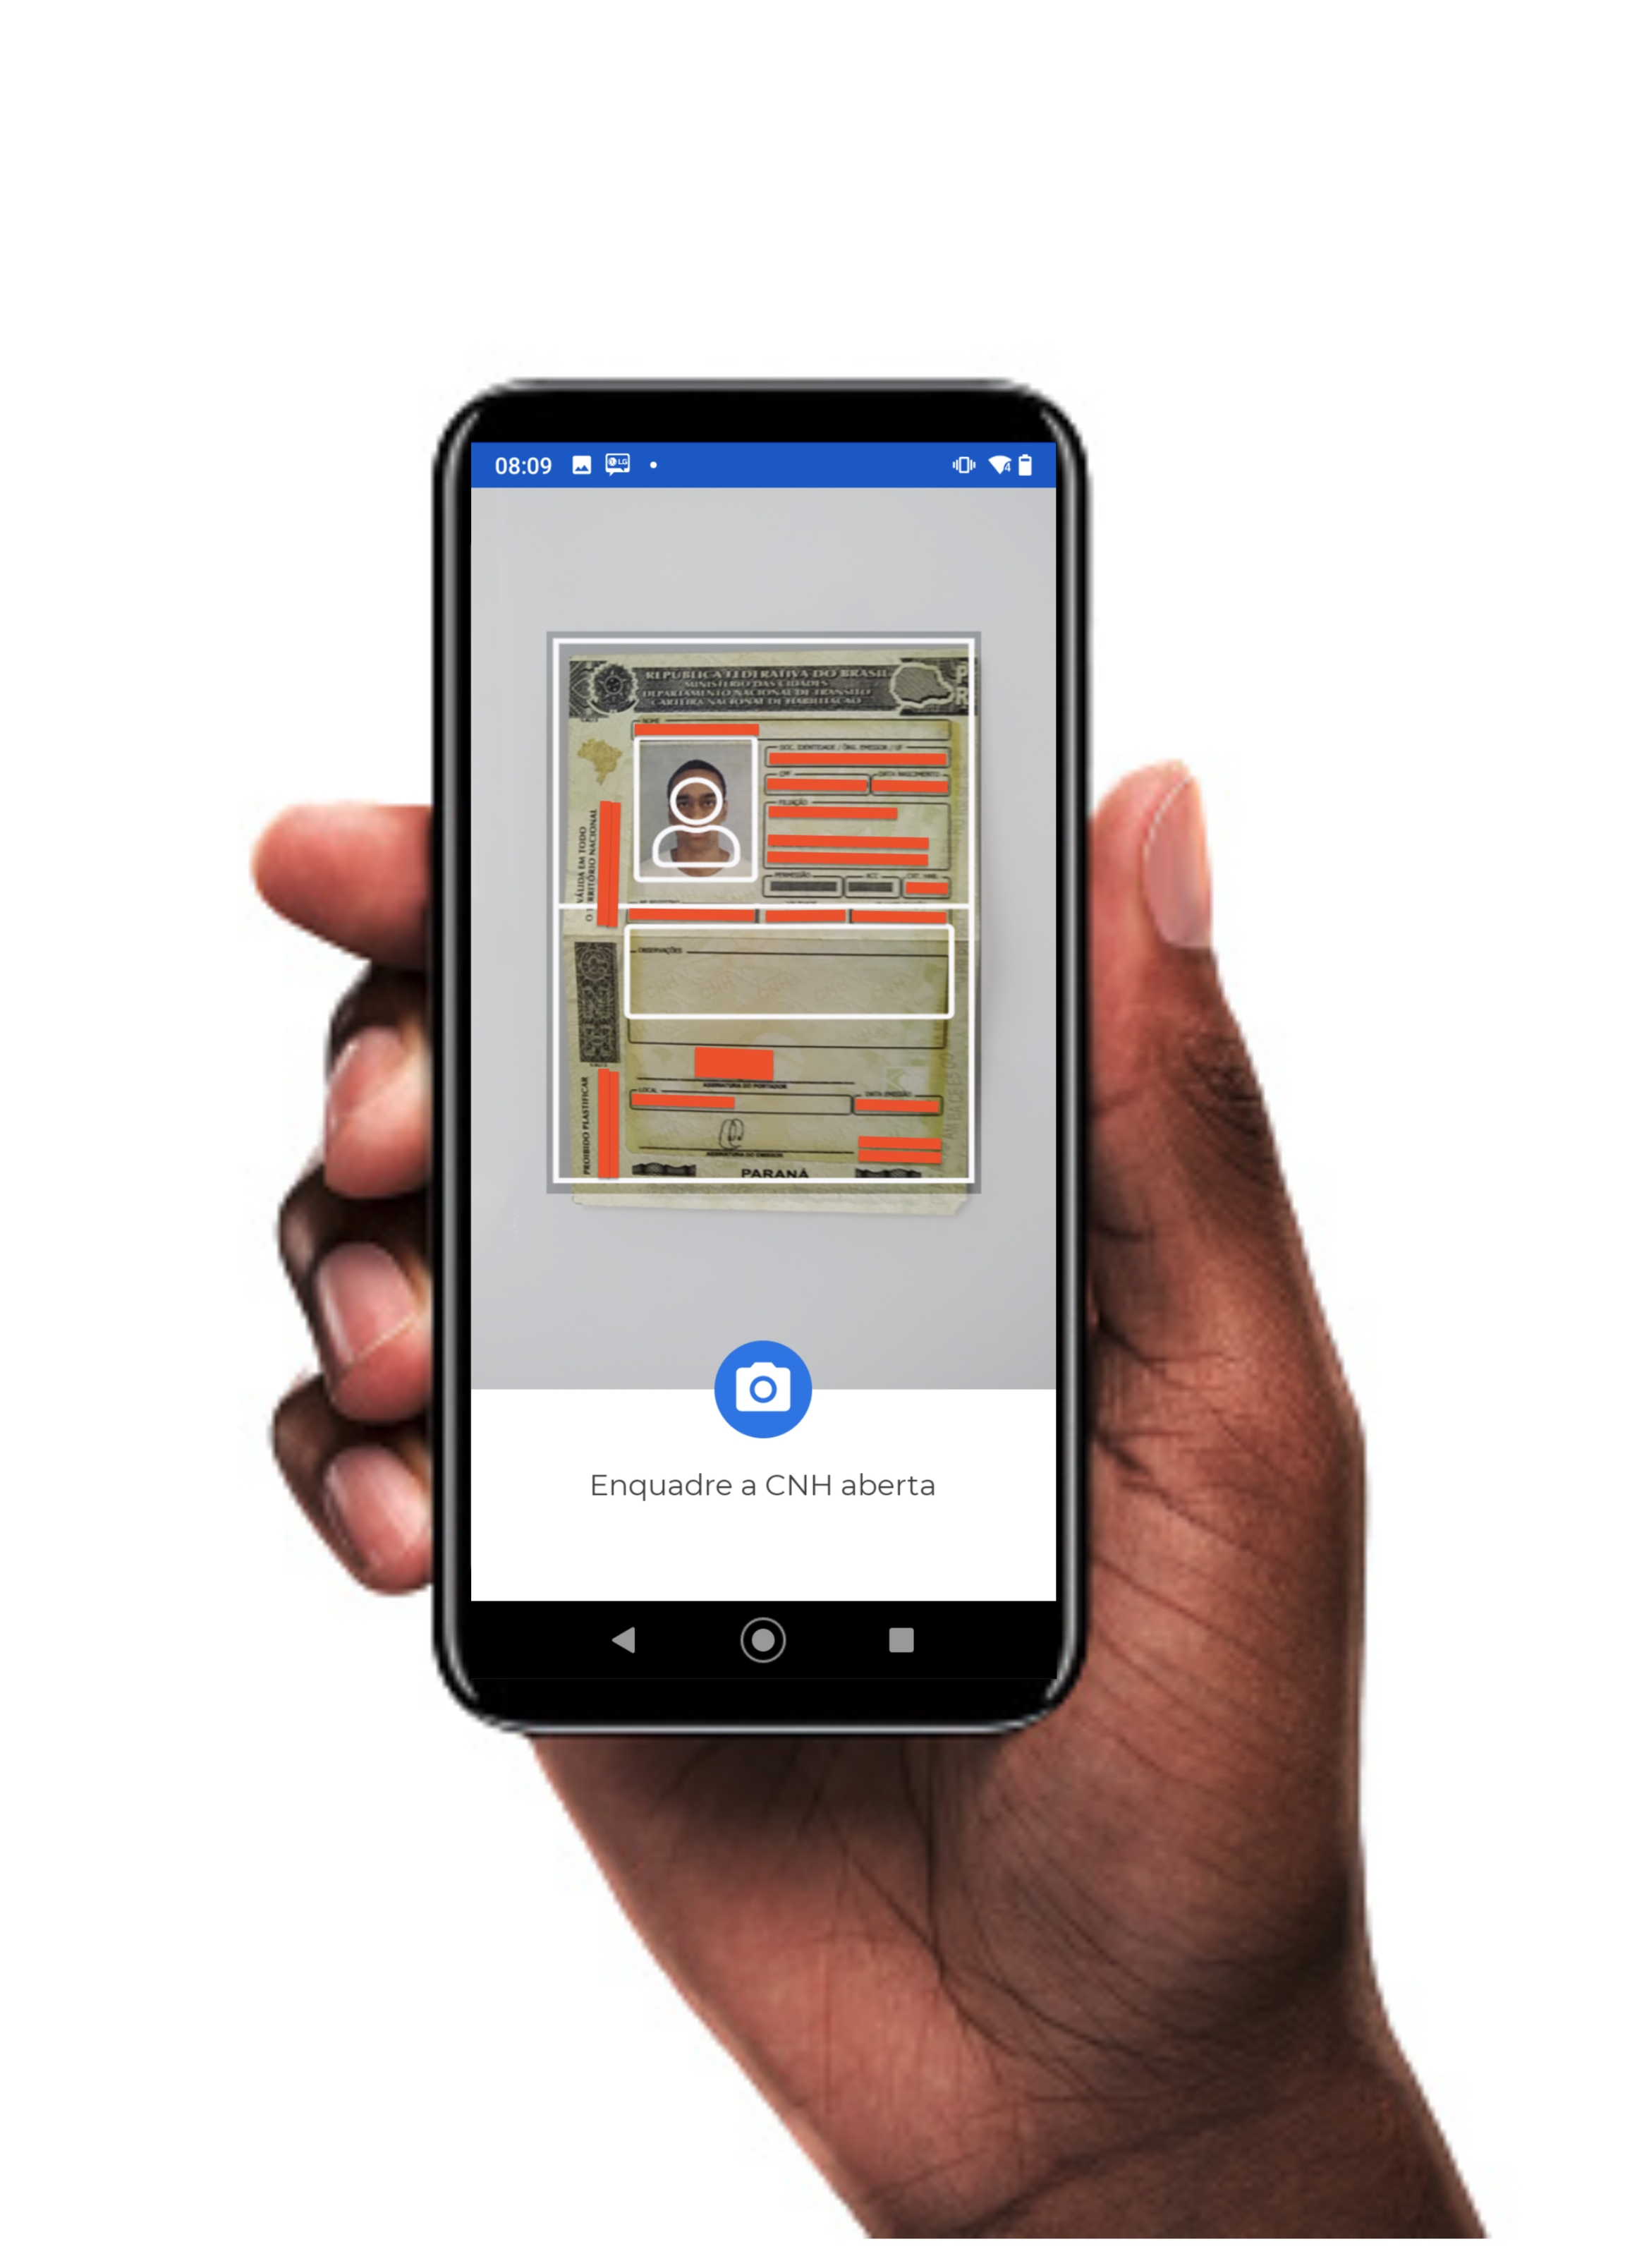
In this camera mode, there is a capture frame to assist the user in positioning the document correctly. Once the document is properly positioned, the user must click the button to take a photo of the document.
The SDK does not perform any validation of what is being captured.
In this camera mode, it is possible to capture the following documents:
CPF: Capture the front of the CPF;
CNH: Capture the open CNH;
CNH Front: Capture the front of the CNH;
CNH Back: Capture the back of the CNH;
RG Front: Capture the front of the RG;
RG Back: Capture the back of the RG;
Others: Capture any other document.
Initializing the SDK
To get started, create an instance of the builder (generated through the UnicoCheckBuilder interface), providing the context and the implementation of the UnicoListener class as parameters.
The implementation of this class is quite simple and can be done with just a few lines of code. All you need to do is override the callback methods with your application's business logic.
class _MyHomePageState extends State<MyHomePage> implements UnicoListener {

    late UnicoCheckBuilder _unicoCheck;

    /// Unico callbacks
      @override
      void onErrorUnico(UnicoError error) {}

      @override
      void onUserClosedCameraManually() {}

      @override
      void onSystemChangedTypeCameraTimeoutFaceInference() {}

      @override
      void onSystemClosedCameraTimeoutSession() {}

      /// Document callbacks
      @override
      void onSuccessDocument(ResultCamera resultCamera) { }

      @override
      void onErrorDocument(UnicoError error) { }

}
Implementing the callback functions
Note that, as in the previous example, the implementation work of the UnicoListener class is largely about configuring the callback methods. Each method is called in a specific situation based on the SDK's response.
Override the methods exemplified above with your application’s business logic:
onErrorUnico(UnicoError error)
When invoked, the method receives a parameter of type UnicoError, which contains details about the error. Learn more about the UnicoError type in the SDK's error handling section.
onUserClosedCameraManually()
This method is invoked whenever the user manually closes the camera, such as by clicking the "Back" button.
onSystemClosedCameraTimeoutSession()
This method is invoked as soon as the maximum session time is reached (without capturing any image).
It can be configured in the builder through the setTimeoutSession method. This method should receive the maximum session time in seconds. You can change the maximum session time for your user by using the face detection feature (Selfie camera with smart capture). If the user exceeds the time set in your process to capture the photo, you can display a customizable message or instruction to the user. The default value is 40 seconds, and the minimum value is also 40 seconds.
onSystemChangedTypeCameraTimeoutFaceInference()
This method is invoked as soon as the maximum time for detecting a user's face is reached (without detecting anything). In this case, the camera mode is automatically switched to manual capture mode (without the smart capture silhouette).
The maximum capture time when using face detection (Selfie camera with smart capture) is 13 seconds. If the user encounters difficulty capturing the photo via face detection and exceeds the time set in your process, the capture mode is automatically switched to manual, aiming to make the action easier for the user (TimeoutToFaceInference)..
All the methods above must be created as indicated in your project (even if without any logic). Otherwise, the project will not compile successfully.
Implementing Listeners for Camera Events
The camera opening method needs to know what to do when it successfully captures an image or encounters an error during the process. "What to do" is communicated to the camera opening method by implementing listeners that are called in cases of success or error.
Through the implementation of the listeners, you can specify what happens in your app in case of error (onErrorDocument method) or success (onSuccessDocument method) when capturing images.
onSucessDocument Method
onSucessDocument MethodWhen successfully capturing an image, this method is invoked and returns an object of type ResultCamera, which is later used in the REST API requests:
public void onSuccessDocument(ResultCamera resultCamera) { }The ResultCamera object returns 2 attributes: base64 and encrypted:
The
base64attribute can be used if you want to display a preview of the image in your app;Both the
encryptedandbase64attributes can be sent in the REST API calls to by Client.
If it is necessary to convert the base64 string to a bitmap, the standard method does not work for Android. You need to perform a split at the comma (,) for it to function correctly. If you want to learn more, read the article: How to convert a Base64 string into a Bitmap image to show it in a ImageView?.
onErrorDocument Method
onErrorDocument MethodIf an error occurs during the image capture, this method is invoked and returns an object of type UnicoError:
public void onErrorDocument(UnicoError error) { }Preparing and Opening the Camera
To open the camera, the openCameraDocument() method is used. This method is provided through the object generated with an instance of the UnicoCheck class.
This method takes the following parameters:
A JSON file with the credentials, generated in the credential setup step;
The listeners configured above;
The type of document to be captured, which can be:
DocumentCameraTypes.CPF
Capture the front of the CPF
DocumentCameraTypes.CNH
Capture the open CNH
DocumentCameraTypes.CNH_FRENTE
Capture the front of the CNH
DocumentCameraTypes.CNH_VERSO
Capture the back of the CNH
DocumentCameraTypes.RG_FRENTE
Capture the front of the RG
DocumentCameraTypes.RG_VERSO
Capture the back of the RG RG
DocumentCameraTypes.OUTROS("descrição")
Capture any other document
If you need to capture a document that doesn't have a specific frame (e.g., RNE, among others), use the frame DocumentCameraTypes.OUTROS("description"), which will provide a generic, rectangular frame that can be used to guide any capture.
Example using the open CNH:
 _unicoCheck.build().openCameraDocument(
        jsonFileName: androidJsonFileName,
        documentType: DocumentType.CNH,
        listener: this);
Making a POST Request to the Client API
Capturing the images is only the first part of the journey. After capturing the image, it is necessary to send the base64 generated by the SDK to the REST APIs of by Client. Learn more in the CreateProcess section of by Client.
Still need help?
Didn't find something or still need help? If you're already a client or partner, you can reach out through our Help Center.
Last updated